Thursday, January 31, 2013

Strange Weather

We could all agree that the weather patterns we are experiencing this winter of 2013 are a bit out of the ordinary.  We have seen temperature 24 hour temperature fluctuations of as much as  45 degrees and now we have seen a storm dump nearly 4 inches of warm rainfall and rip 50mph winds through our golf course in the middle of winter.  I even heard some rumbles of thunder at my house last night.  It is shocking to think that with colder temperatures, this storm could have produced over 3 1/2 fet of snow in our area! 


One casualty caused by the combination of high winds and soft ground was this 40 foot red oak tree along the right side of #15.

Our staff was able to make fairly quick work of this fallen tree. 


When you are trying to dry soil in a pond, even small rain events can be frustrating.   It may take more than eight hours to pump the pond down this time. 

 We are able to capture this rainfall and transfer it into our main irrigation pond on #9.   This will be enough to fill this pond completely and will be a welcome sight in the spring when we are looking to start irrigating the golf course.

Tuesday, January 29, 2013

Course Open - All 18 Holes!

The golf course is open again.  We opened this morning with a few holes remaining closed.   With the temps in the 50's, all of the snow/slush has melted off and we have now opened all 18 holes.


Saturday, January 26, 2013

Friday, January 25, 2013

We Are Open - For Now...

Yesterday's high temperature of 27 degrees was just enough to melt the dusting of snow that covered the golf course.  We are open for play today.   We will see what today and tonight have in store for us with 1-2 inches of snowfall in the forecast.


View of #10 green from just outside of our maintenance facility.


Thursday, January 24, 2013

Closed with Snow Cover

Course closed today with a light dusting of snow covering all of the putting surfaces and cart paths.


The freezing temperatures we are experiencing are some of the coldest that I can remember in several years.  And even though we don't always like it, the cold weather benefits the golf course.  One of the main benefits of cold weather is the suppression of insect activity and fungal pathogen activity. Mild winters similar to what we have experienced over the last two winters, have allowed these pest populations to grow.  


 At #6 tee, you can see evidence that it has not been cold for long. 

Frost Delays - Explained

"Frost is essentially frozen dew.  Ice crystals visible on the outside of the plant can also form on the inside of grass blades.  The grass plant, normally resilient to footsteps or cart traffic, becomes brittle and fragile when ice crystals form.   Under the pressure of traffic, ice crystals puncture living plant tissues and rupture plant cells.  Damage will not appear right away, but it will show up in footsteps and tire tracks the following days as the plant is unable to repair itself and begins to die.  Frost damage can occur on any turfgrass, mowed at any height, but is amplified when the plant is mowed low, as on a putting green.

Keep in mind, a foursome typically takes several hundred footsteps on each green, so even allowing just a few groups to play when frost is present can be very damaging to the greens, and the rest of the golf course for that matter.  For this reason, golf facilities are wise to delay starting times in the morning until frost has completely melted."

Ty McClellan, USGA Green Section

 #18 tee surround

Some pictures of frost damage to turf on #18.  These pictures were taken in 2011 after a golf cart was driven through frost covered turf.  This turf was able to recover in the spring.  This is turf-type tall fescue mowed at a height of 2 1/2 ".

This picture of #17 approach was taken in 2011 as well.   This is creeping bentgrass mowed at 0.5"   This turf was slower to recover and this damage was evident into the spring. 

Tuesday, January 15, 2013

Creeping Bentgrass Nursery Update

Maintaining 39 acres of creeping bentgrass in the Mid-Atlantic transition zone can be challenging at times. Heat stress, drought stress, severe weather, foot traffic, golf cart and maintenance equipment traffic, pest pressure from weeds, insects and disease, are the main causes of stress on this cool-season turfgrass.  Having a bentgrass nursery on site, enables our staff to use small amounts of sod as needed to make small repairs to the turf.    A nursery also provides fresh healthy turf that can be used during various projects.   For example, last winter we installed over 1700 linear feet of drainage in fairways.  Some bentgrass sod was needed to neatly close up the trenches.  Our turfgrass maintenance team at Greystone has been hoping to have time to construct a bentgrass nursery on the property for a few years now.   This year, we were able to make it happen. 

We began prepping this area behind the grey tee on #16 for seed in mid-September.  The first step was to apply a non-selective herbicide (Round-up) to the existing turf.  We then stripped and removed the dead sod and began importing soil.  We used 83 tons of greens construction mix as the root medium at a cost of about $49/ton.  The mix we chose consisted of 80% sand and 20% sphagnum peat moss and is identical to the mix that supports the bentgrass on all 19 putting greens at Greystone. 


The mix was then graded, leveled and rolled.  We dimpled the mix with the knobby tires on one of our machines to create a seed bed.  We then seeded the nursery with Penncross creeping bentgrass, to match the existing stand, in two directions, applied starter fertilizer, Milorganite, gypsum and calcium.  The nursery was seeded on September 19, 2012 and this photo was taken 6 days later.  If you squint, you can see the new bentgrass seedlings emerging from the soil!


This photo was taken yesterday after the turf blanket was pulled off and the nursery was mowed.  While working on  this nursery, We fielded many nervous questions from our customers concerned that we were constructing a new tee!  I am sure many will be relieved to know this 250+ yard shot will not be part of the par three #16!


With this blanket in place once again, soil temperatures can remain 9-15 degrees warmer than ambient temperatures.   This will help the nursery get a jump start on the growing season this spring. 

Friday, January 11, 2013

#8 Pond Renovation


Some may have noticed that the water level in the pond directly to the left of #8 green has been low for quite some time.  This pond has been leaking for as long as anyone can remember.  After careful tracking of the water levels in this pond, the determination was made that we were losing approximately 45,000 gallons of water per day!  We have been working closely with an engineering firm and a certified contractor to determine the best means for repairing the pond.  After quite some time and careful planning, we are fortunate to be able to say that we have plans and permits in hand to enable us to begin the process of installing a liner in the pond.  


Most of us can remember the pond at #8 looking something like this.   The goal of this project is to bring the water level back to this level with an impervious liner. 


The pond level was especially low in the hot, dry summer months.  At full capacity, this pond will store more than 2,000,000 gallons of water that can be used for irrigation when conditions like these arrive!


We began pumping the remaining water in the pond with this 6" diesel pump.

We pumped the water from #8 through this filter bag, into the main irrigation pond on #9.  We were able to save much of the water from #8, while removing the sediment from the water at the same time.

We were able to install this sump into the base of the pond.  This is a 6' long piece of 15" corrugated drain pipe wrapped with poultry wire.  We drilled holes in the pipe and then back-filled around the pipe with about two tons of gravel.  This will allow the water-filled sediment in the base of the pond to drain over time. 

  In order to get a proper estimate for the water content in the sediment in the bottom of the pond, we needed to take a sample of the sediment and dry it to remove the water.  We chopped and dried over a period of about 2 weeks and then packed the soil inside of a 5-gallon bucket with a sledgehammer and tamper to mimic the compaction of construction equipment.


The dry soil was returned into the same bucket and measured.  We calculated that the soil sample consisted of about 31% water and 69% soil.  This is useful information to be used during construction.  
We are all excited and feel fortunate to be able to have this work done.  We will keep this post updated as these plans are carried out.  


Tuesday, January 8, 2013

"What Does the Staff Do All Winter?"

The most frequently asked question we get this time of year from customers is always "what do you and your staff do all winter.  The grass does not need mowing, right?"  Well, one of my first responses is always that we get some time away from work.  After a grueling golf season, most of the staff is ready for some time off with family, friends, or simply away from the course.  Some of us are fortunate to have plenty of accumulated vacation time to use that we do not get a chance to take during the season.  We will use that time liberally during the winter months when the golf course is typically getting a break itself and is not in need of daily monitoring and maintenance.  

After the holidays, we are always anxious to get started on our winter projects.   One of the most time-consuming projects we undertake annually is the task of refurbishing our golf course accessories.  The list of accessories in need of attention includes 27 aluminum ball washers, 18 wooden divot mix containers, 20 wooden trash cans, 4 wooden cooler/trash can enclosures, 200 bunker rakes and 180 custom-made tee markers.  This can be a daunting task with a staff that is now down to 4!


Ball Washer Refurbishing


All 27 ball washers are disassembled, cleaned, repaired and prepped for a fresh coat of paint! 


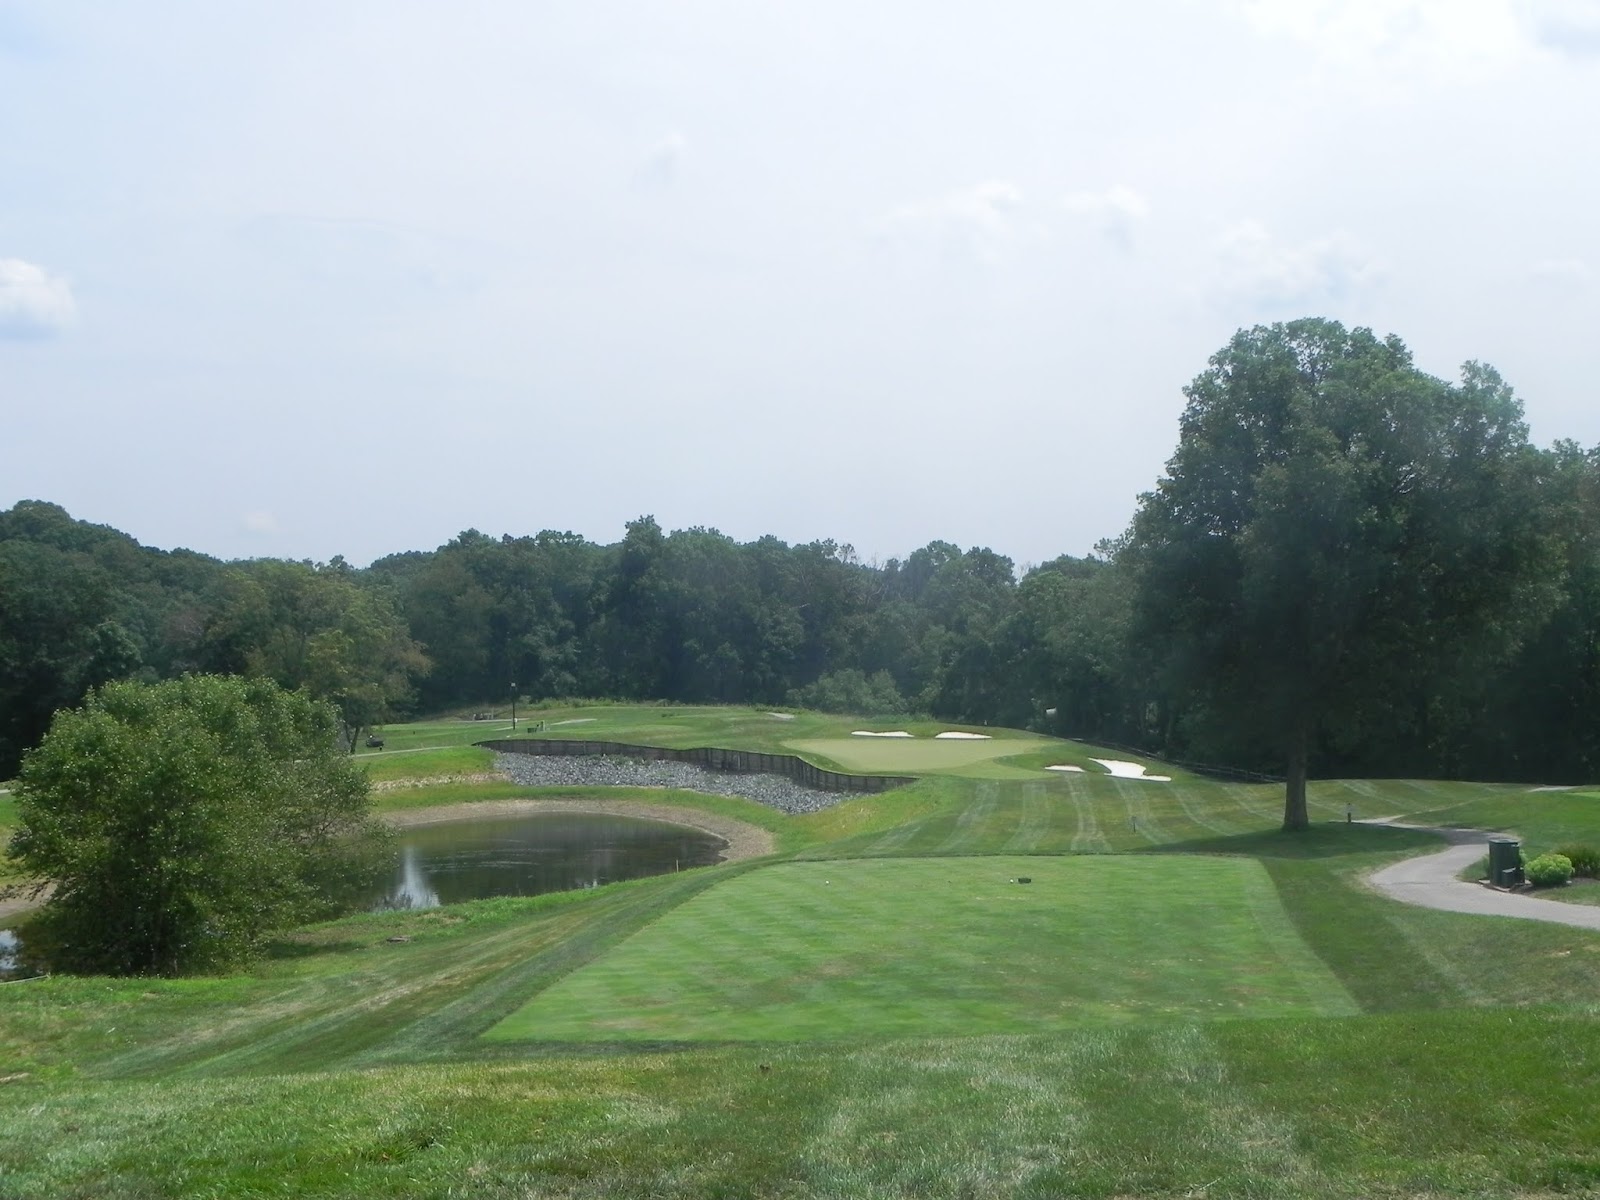
One of our four cooler house/ trash can enclosures gets a full renovation.  This one needs more work than the others with some rotten wood being replaced.  This particular enclosure came from #3 tee.  We believe that this one tends to need more in-depth renovation because of its close proximity to irrigation cycles throughout the season.  We will then prime all of the wood and prepare for fresh paint.

This is an older version of our tee marker that we used two seasons ago made from clear cedar.  All 180 markers were designed, cut, sanded and finished by our staff.  The only part of this marker that we purchased was the medallion that we fixed to the center.  These markers took us 6 weeks to complete.  To buy a marker similar to this one pre-built out of a catalog would cost anywhere from $45-$55 a piece.  Simple math tells you that we cannot afford to buy something like this! ($45x180=$8,100)  We were able to build these markers in-house for about $6 each.  We really wanted to replace the older style mini-bowling ball markers with something with a bit more refinement.  I think we were able to do that with these custom made markers.

Of course this is just the inside work.  In the next post we will look at some of the winter projects that we look to get completed when the weather permits.  We will look at doing some tree work, drainage installation, sodding, and landscaping among others.  I will also discuss some of the excitement on hole #8!